Helping Hands
Create a dynamic help page with the OMQ Help Integration in Shopware 6
The OMQ Help Integration is a self-searching help page for Shopware 6 that helps you take your customer service to the next level with the help of AI.
In addition to a simple integration into Shopware 5, we also offer integrations into Shopware 6 for our products OMQ Contact and OMQ Help.
In this tutorial we will show you how to integrate OMQ Help into Shopware 6.
The self-searching FAQ – OMQ Help
OMQ Help is a self-searching help page similar to a FAQ. The OMQ AI detects current changes in customer behavior and arranges entries according to their frequency of requests on the help page. Customers will find suitable solutions at first glance. OMQ Help learns relevant terms in the background and guides customers to the right solution with auto-completion.
So OMQ Help offers a number of advantages for your customers. The auto-completion helps your customers to avoid having to start looking specifically, because they find a solution right away. The clearly arranged categories also contribute to this. In summary, your customers can benefit from the following features:
- simple and fast navigation
- good orientation due to categories
- fitting answers all the time
The OMQ Knowledge Base
The core of the OMQ system is the central OMQ Knowledge Database, which collects and manages service knowledge. Thanks to the AI technology used, the knowledge base learns across all channels and becomes more precise with each request.
The system uses feedback from both customers and service staff to continuously improve the quality of the response. All OMQ products are linked to the central knowledge database. This ensures that all communication channels are provided with the same service knowledge.
The online shop system of Shopware
Shopware was developed in 2004 in Germany and is an online shop system. This means that you can use the software to create your own online shops. With different versions and extensions, users can customize their own shop according to their needs and desires. The software is very flexible, scalable and also allows individual design for different target groups.
The Integration
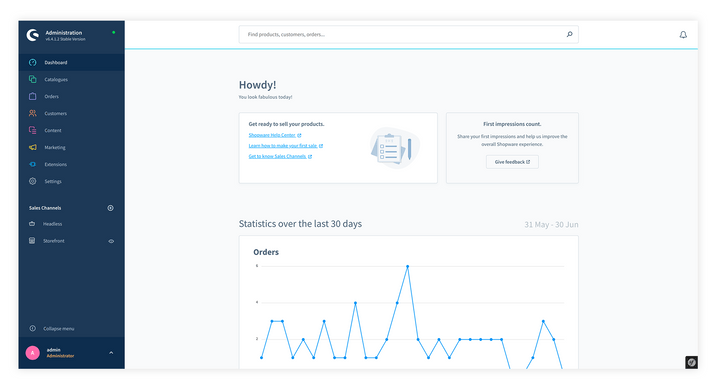
Download OMQ Help and then click on the gearwheel in the Shopware 6 user interface.
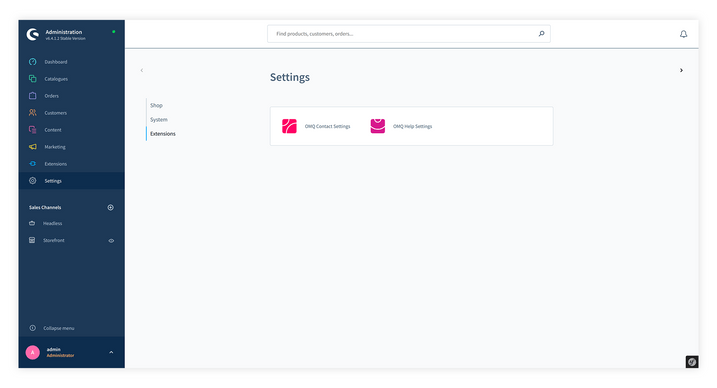
In the settings you select the sub-item “Plugins.” Here you can find your plugins and choose OMQ Help.
You can now log into an existing account or create a new OMQ account.
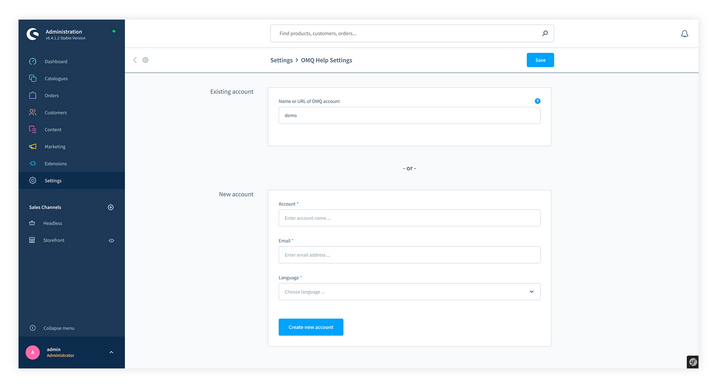
After you have logged in, you save the progress and then click on the pink icon in the left bar and then on the sub-item “Shopping Experiences”
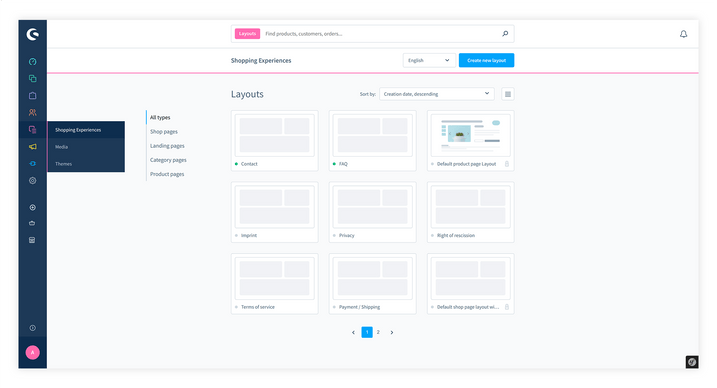
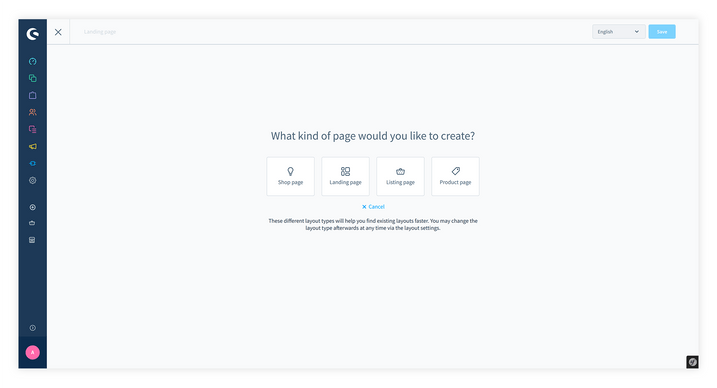
Click on “Create a new layout”.You will be asked what page you want to create. Select the “Landing Page” for this.
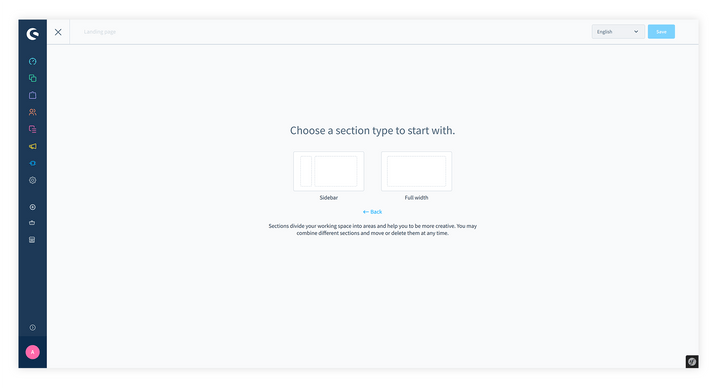
In the next step you choose the “Full width”.
Now you give your layout a name. We decided to call ours “FAQ”.
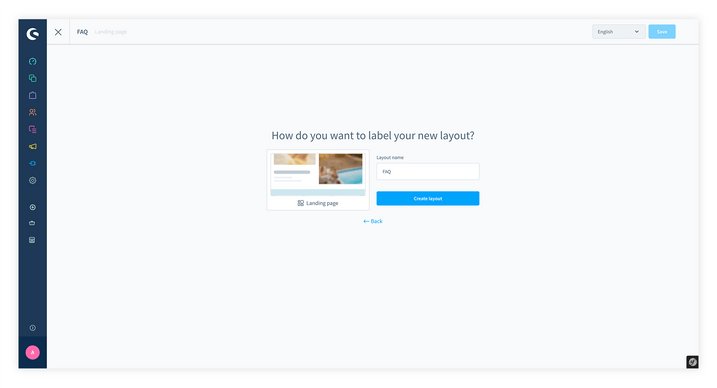
After you have created your layout you can insert elements into your help page. This is done by Click&Drop. Click on the “+” on the right side.
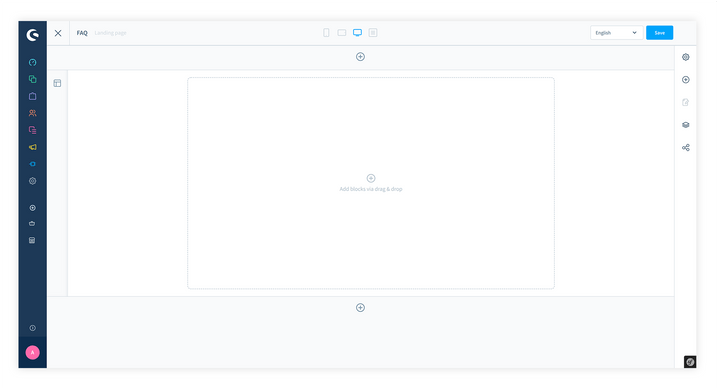
You can now select for which blocks you want to change and find different layout designs. In the block category “Text&Picture” you will find OMQ Help.
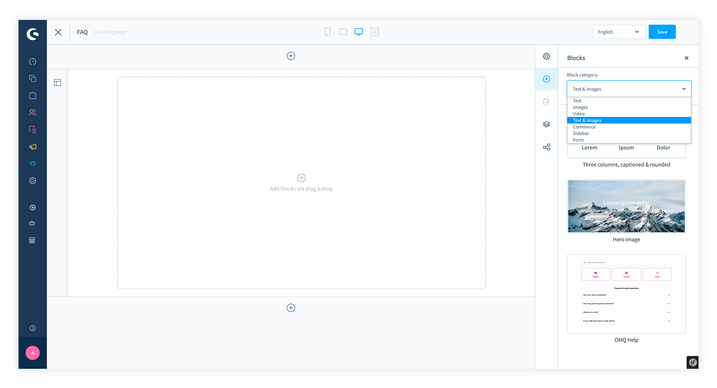
Click OMQ Help and hold down the mouse button to insert the layout into your help page.
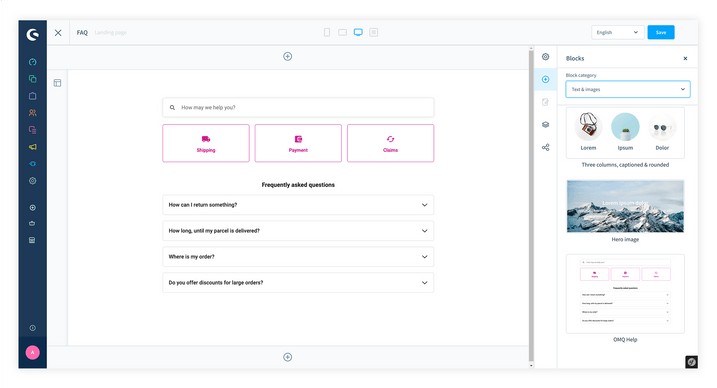
After you have dragged OMQ Help to the right place, click on the number wheel in this field at the top right.
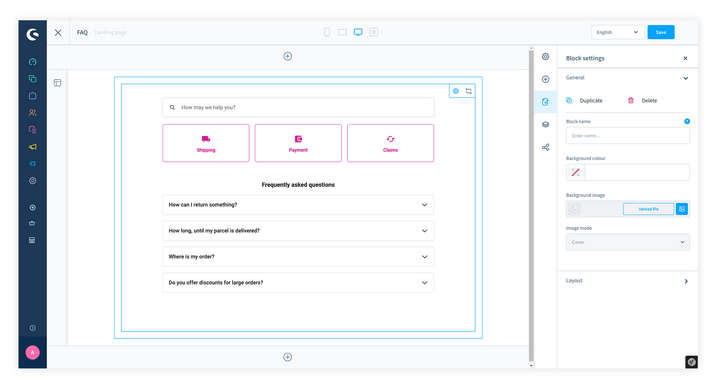
This opens a field with “Element Settings”. Enter your OMQ API key here.
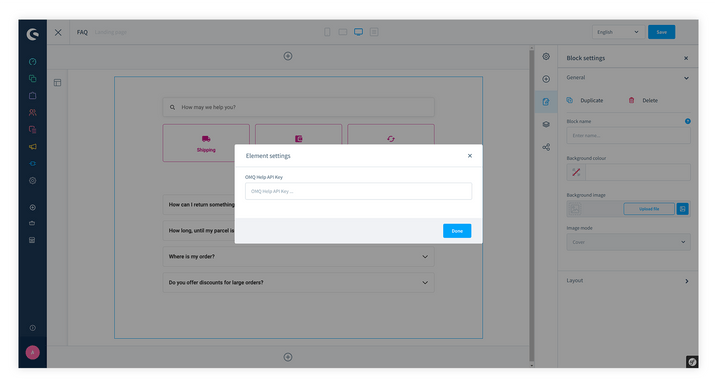
After clicking on “Finish”, click on “Save”. Then click on the green icon in the left column and click on the sub-item “Categories”.
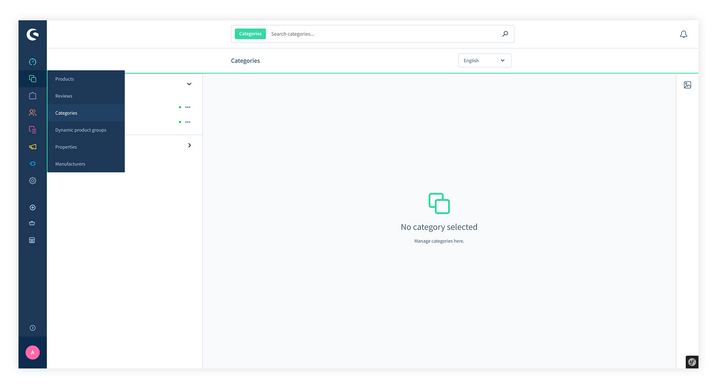
Then select “FAQ”. There you scroll to the “Layout Assignment” and click on “Change Layout”. Now you can select your previously created layout.
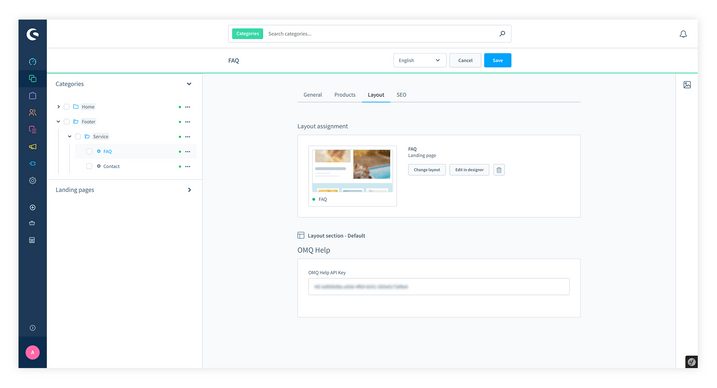
Click on your layout and then click on “Apply Layout.” Finally, go to “Edit content.”
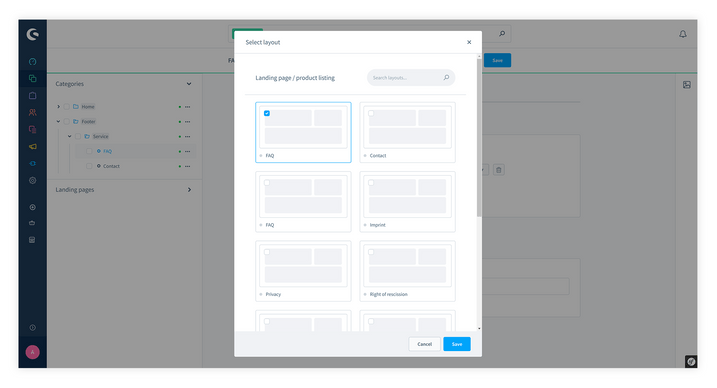
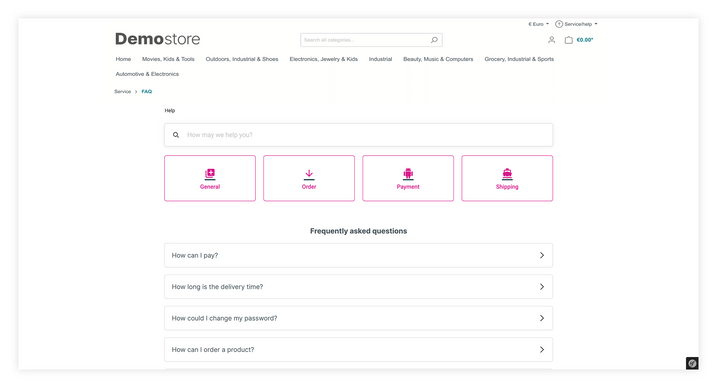
Save the page and then go to the demo shop. Here you can test your FAQ.
Any more questions?
If you would like to learn more about us, our products or our extensions for other systems, please feel free to contact us. Are you interested in our software and would like to request a demo directly? Then click here. We are looking forward to seeing you! :)

